Step 1:Click here and login to your eReference check account that was created on your behalf by a CV staff member. Don't have an account? Please email help@charityvillage.com so we can get you set up.
Step 2: To send an eReference request, click either HOME or FILES from the left hand side and then click CREATE FILE.
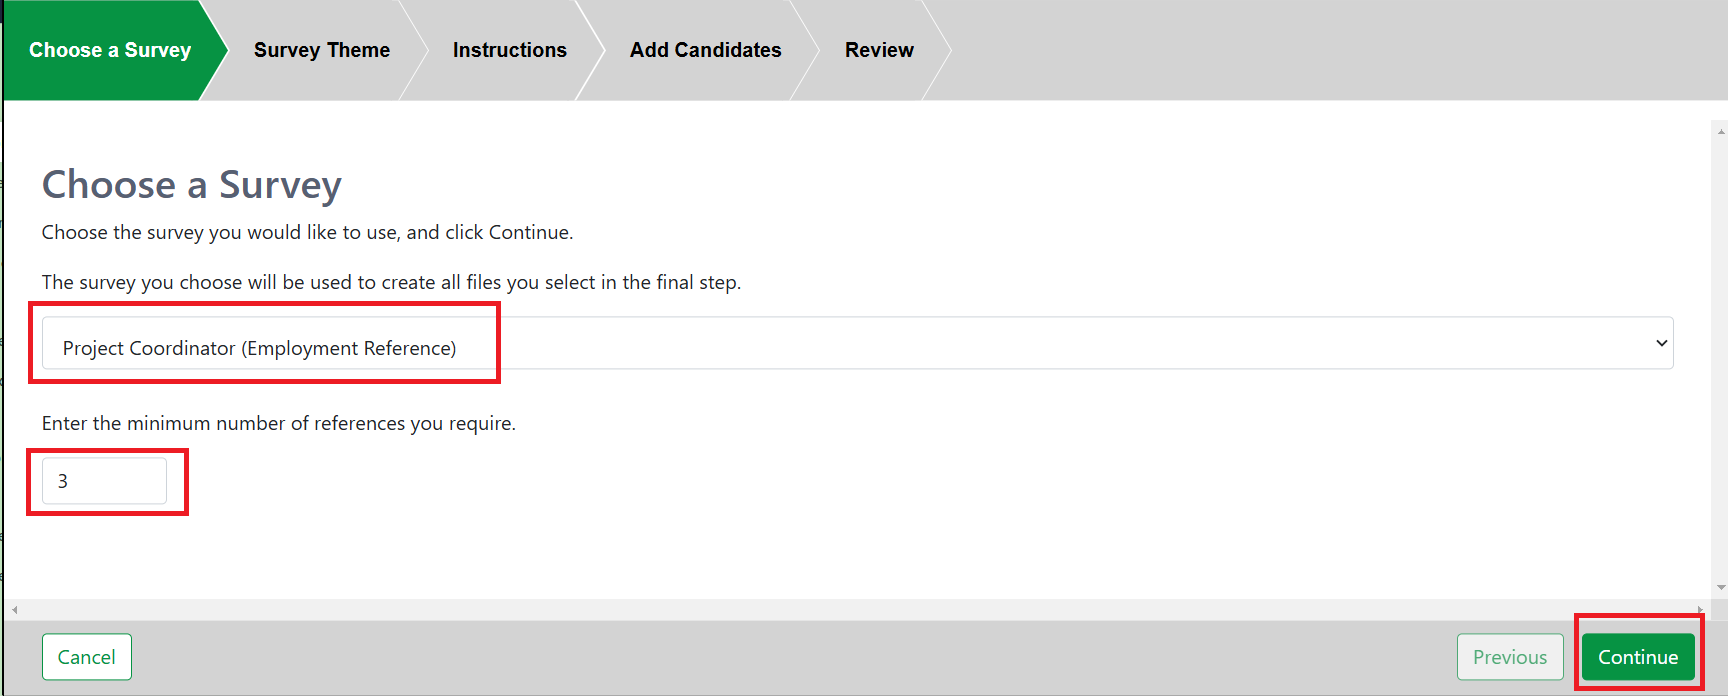
Step 3: Select the survey you wish to use from the drop down list and then the minimum number of references required.
Haven't created a survey yet? That's ok, you have a few options to choose from:
OPTION 1:Create a survey with your own questions and/or from the library of questions available to you, click here for instructions.
OPTION 2: Use one of the standard surveys CharityVillage. To view the questions included in each one, click on the links below.
OPTION 3: Generate a Survey - CURRENTLY UNDER CONSTRUCTION and cannot be used at this time.
After you have selected the survey, click CONTINUE to move to the next page.
Step 4: For the Survey theme, you can choose to use the CharityVillage logo and colours or select the theme you created when setting up your account.
If you haven't created a theme, you can do so by clicking here and following the instructions. This will give you the option to upload your organization's logo, use your organization's colours, and/or customize the messaging that will be sent to the individual filling out an eReference Survey.
Step 5: If you have any special requests, guidelines or instructions for the candidate(s), include them in the field at the top. This will be shown to them before they enter their references.
Example:Please ensure you double check the contact information of each reference you would like contacted.
Step 6: On this page, enter the name and email address of the candidate you would like to send this request to.
To send a request to multiple candidates at the same time, click the Add Another Candidate button.
To delete an entry, click the red x button to the right of the email address field.
Step 7: Please review the information you entered to ensure it's correct. Once you click the Create Now button, this cannot be undone.
Step 8: Click the Finish button at the bottom right of the page.
Have questions? Please email help@charityvillage.com